10 Expert Concealer Tricks for Dark Circles
10 Expert Concealer Tricks for Dark Circles: I’ve tried every trick in the book to hide my dark circles, and it seems like I’ve spent centuries perfecting the art of concealing them.
As an expert in camouflage, I’ve gathered 10 life-changing techniques that’ll help you serve your clients with a fresher face, even when they’ve battled through sleepless nights.
We’ll dive into the sacred ritual of choosing the perfect shade, the magic of hydration, and the power of color correction.
I’ll guide you through precise application methods, from the strategic layering to setting the stage with powder, ensuring their under-eye secrets are safe with us.
As we explore the realm of reflection and natural light, remember, these tricks are more than makeup—they’re a service to those who wish to present their best self to the world.
Key Takeaways
- Choose a concealer no more than one to two shades lighter than your natural complexion.
- Use color correctors with peach or rose undertones to neutralize blue and purple tones.
- Hydrate the under-eye area with an eye cream containing light-reflecting pigments, caffeine, or vitamin K.
- Apply concealer using the triangle method to brighten and lift the under-eye area.
Choose the Right Shade

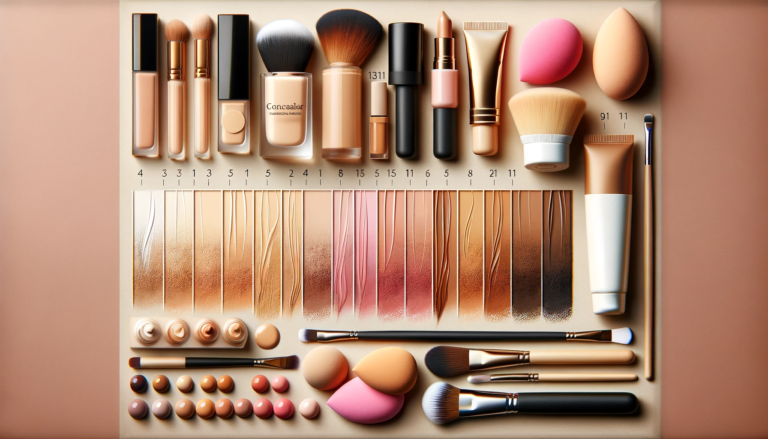
I’ve found that selecting the correct shade of concealer is crucial for effectively camouflaging dark circles without creating a tired or ashy look. To serve those seeking an undetectable veil of perfection, it’s essential to harmonize the concealer with the actual skin tone. The secret lies not just in finding a close match but in understanding the interplay of color correctors that lay the foundation for a flawless finish.
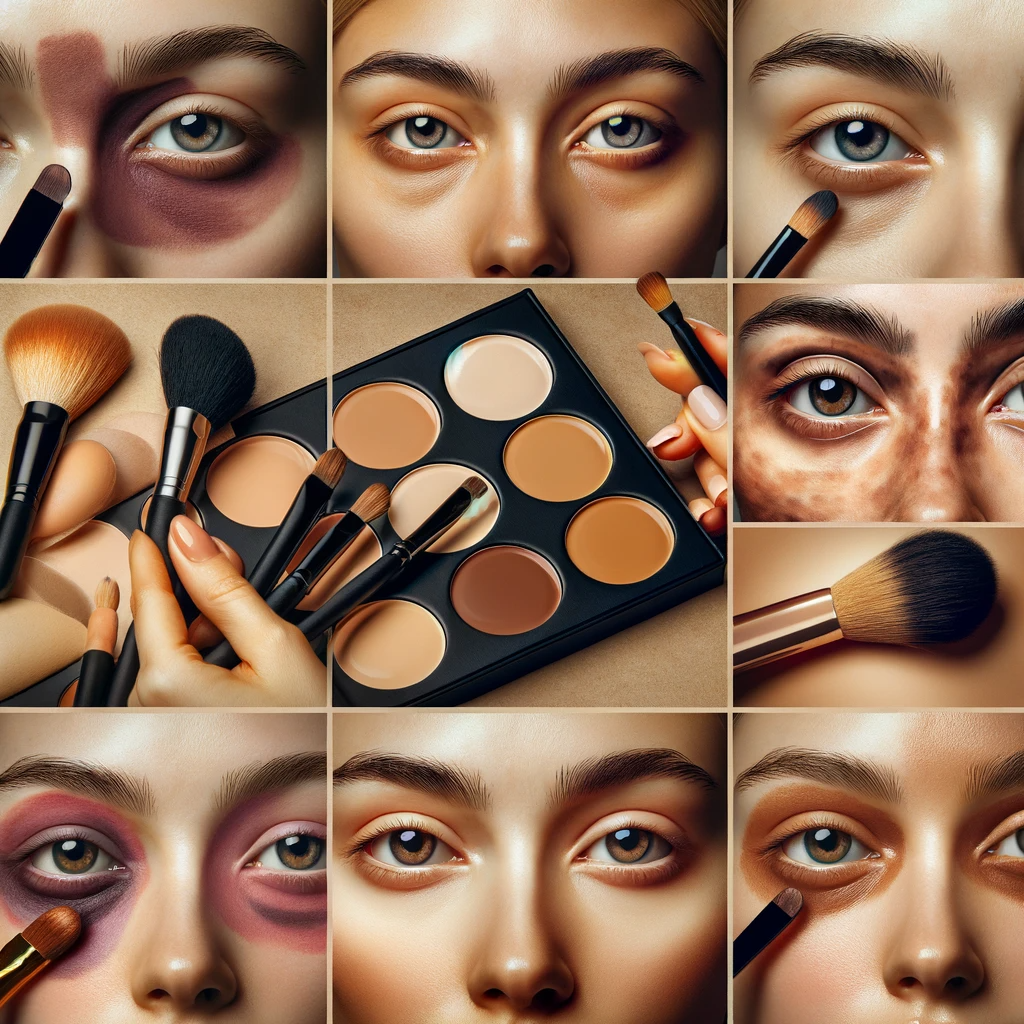
When I choose a concealer, I look for a hue that’s no more than one to two shades lighter than my natural complexion to brighten the under-eye area subtly. A color corrector with a peach or rose undertone can be transformative—these shades are adept at neutralizing the blue and purple tones that often accompany dark circles.
The artistry of concealer application transcends mere color matching; it embodies the delicate balance between coverage and natural luminosity. By patting the product gently onto the skin, I avoid the weightiness that can betray one’s intent to conceal. It’s a measured dance, blending pigments and textures to cast away shadows and revive the eyes with a rested radiance.
Hydrate Under-Eye Area
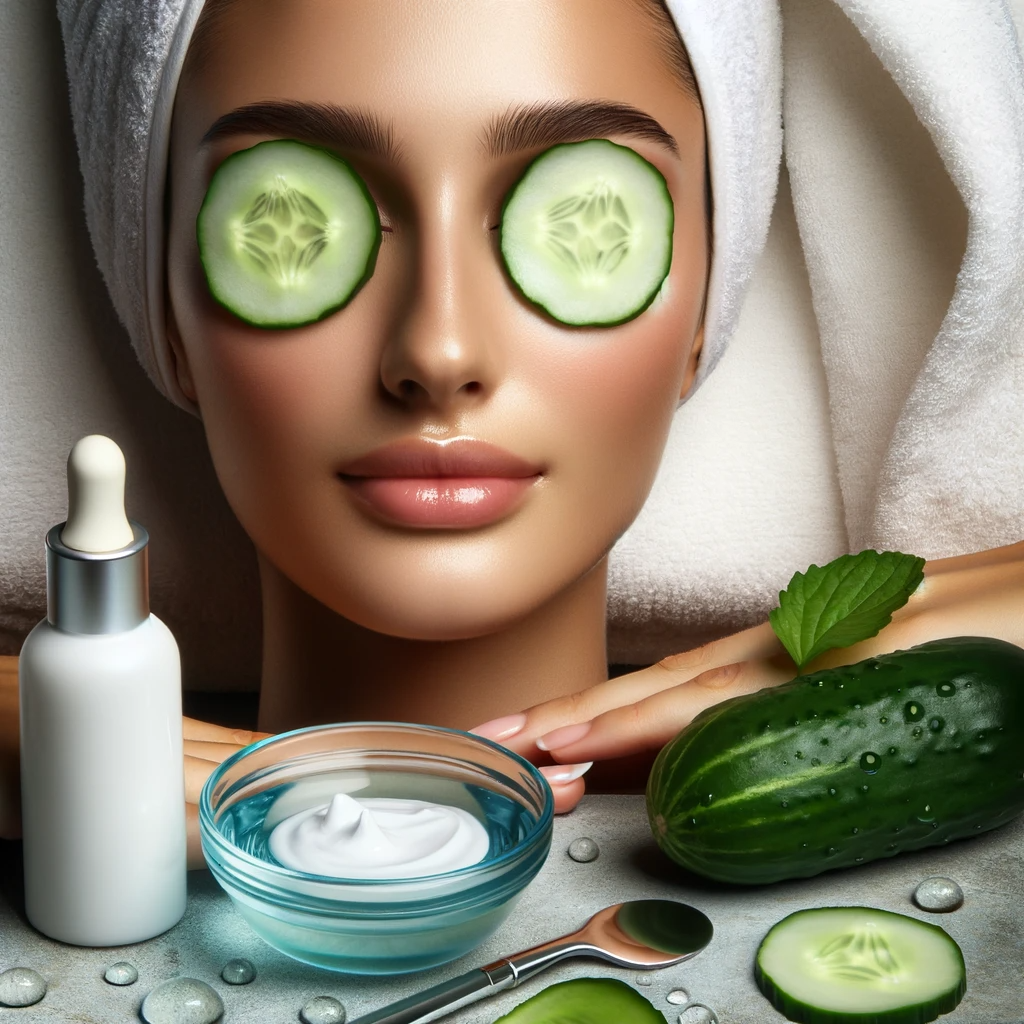
After selecting the perfect shade, I turn my attention to the crucial step of hydrating the under-eye area to ensure a seamless concealer application. Dry skin, especially around the eyes, can sabotage even the most expertly chosen cosmetic shades. To prevent this, I meticulously apply a drop of eye cream that not only hydrates but also brings a touch of luminosity to the delicate skin.
Here’s how I elevate the hydration game:
- Choose an Eye Cream with Benefits: My go-to formula contains light-reflecting pigments, caffeine, or vitamin K—ingredients known to brighten and refresh tired-looking eyes.
- Light Application for Natural Beauty: I dab gently, using just enough cream to moisturize without overwhelming the area. This approach ensures my makeup remains natural and doesn’t settle into fine lines.
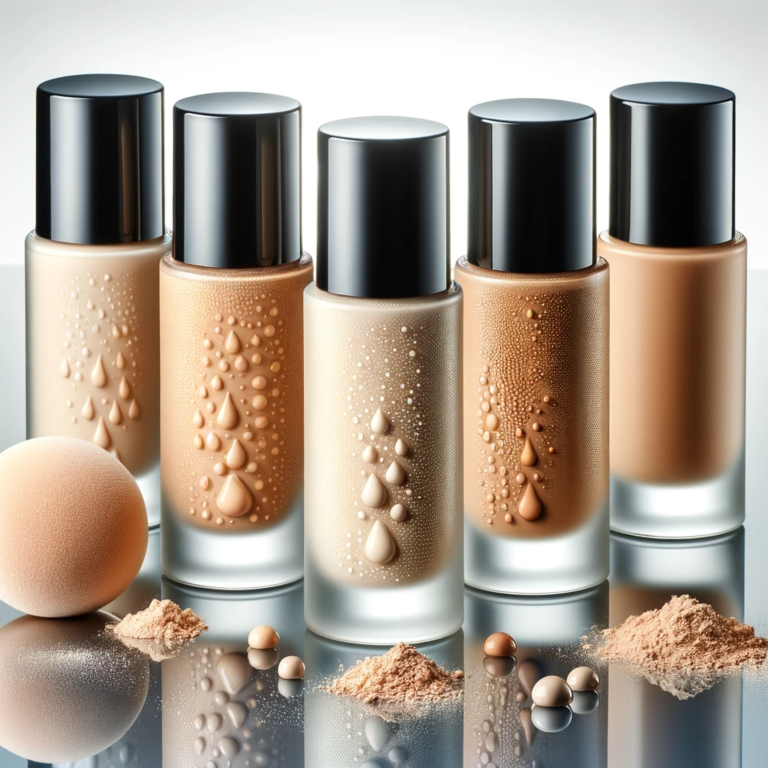
- Nourish with a Liquid Concealer: I invest in a hydrating liquid concealer to provide extra nourishment. Its creamy texture blends beautifully on top of the eye cream, creating a canvas that’s both smooth and revitalized.
Leverage Color Correction
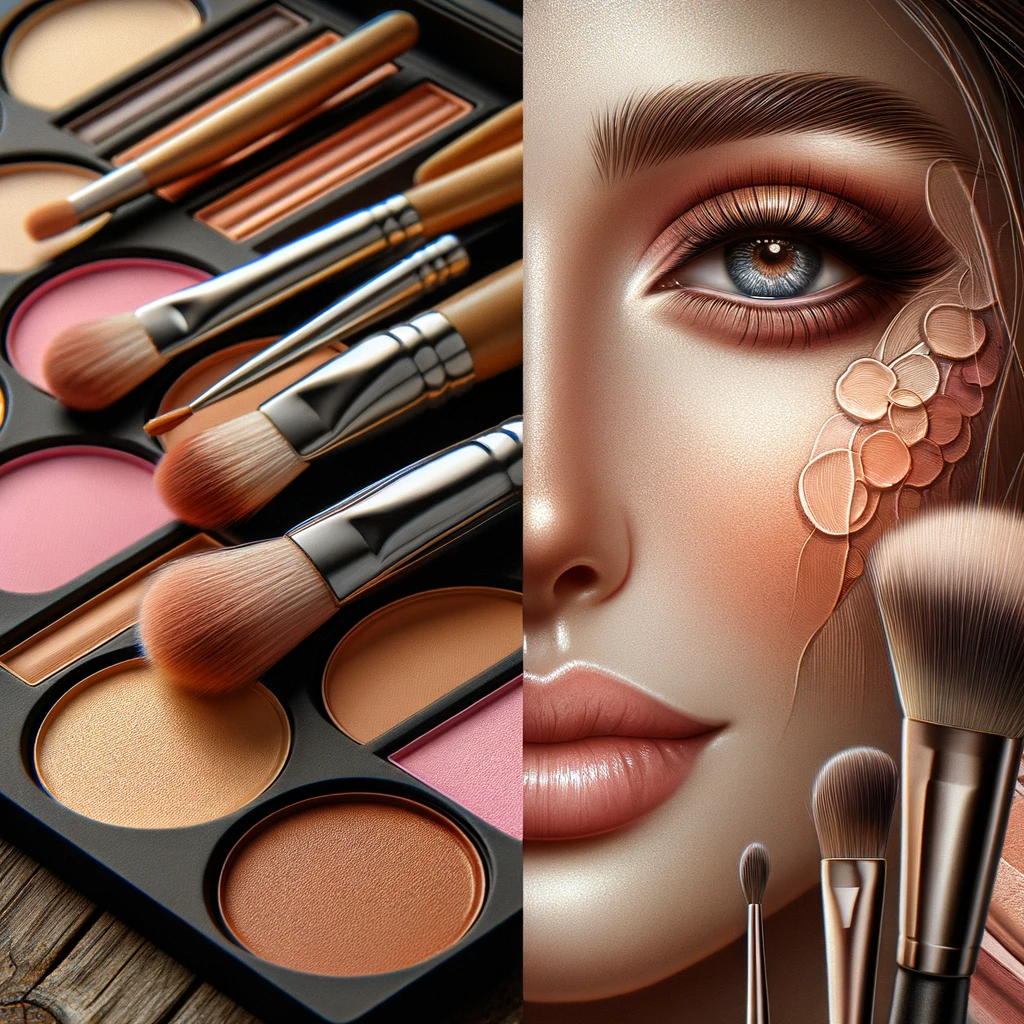
To effectively camouflage dark circles, I tap into the transformative power of color correctors before applying my regular concealer. This meticulous step is crucial; it’s the art of neutralizing the unwanted hues beneath the eyes. By deploying color correction, I can counterbalance the purplish or bluish tones that often lurk under tired eyes. Orange or peach correctors are my go-to for neutralizing these shades, creating a flawless canvas that even the most stubborn under-eye circles can’t penetrate.
Understanding the color wheel is paramount in this process. I select a corrector with a hue opposite to the color of the under-eye circles. For instance, if the shadows are purple, a yellow-toned corrector from my concealer or foundation palette will cancel them out. The goal is to create an even base that neither casts a grey pallor nor highlights the imperfections I’m aiming to conceal.
I approach the task with the precision of a painter, blending the color corrector seamlessly into the skin. As I pat the product gently, I ensure it melds with the under-eye area’s unique contours, optimizing coverage. Now that the canvas is neutralized, it’s time to apply concealer correctly, an act that requires a deft hand and an eye for detail.
Apply Concealer Correctly
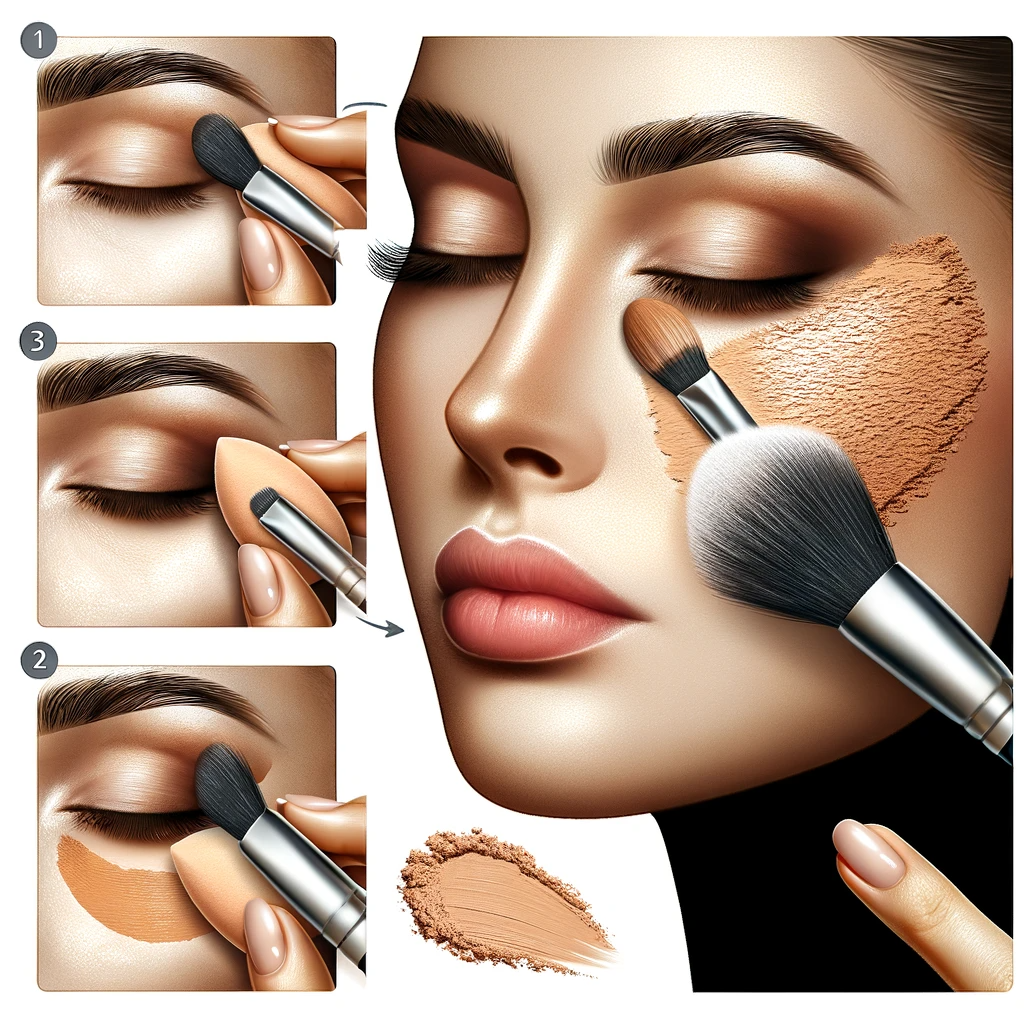
Once I’ve neutralized the dark circles with a corrector, it’s time to apply concealer with strategic precision to ensure seamless coverage. This delicate eye area, often marred by shadows whether from fatigue or because dark circles are hereditary, requires a practiced hand and an understanding of light’s interplay with skin.
To apply concealer adeptly, I follow these essential steps:
- Select the Right Shade: A concealer one shade lighter than my skin tone lifts the under-eye without creating an unnatural contrast.
- Use the Right Tools: I opt for a small, flat brush for precise application, followed by a damp beauty sponge to blend softly without tugging the skin.
- Layer Judiciously: I apply thin layers, building only where necessary to avoid a cakey effect, ensuring that each layer melds into the skin before adding the next.
By treating the application as a form of artistry, I enhance the eye area with a natural luminosity that both conceals and flatters. It’s not merely about masking imperfections; it’s about sculpting light and shadow to reveal one’s best self to the world.
With the concealer now in place, it’s crucial to master the technique of its distribution. Next, I’ll illustrate how to use the triangle method to perfect this canvas.
Use the Triangle Method
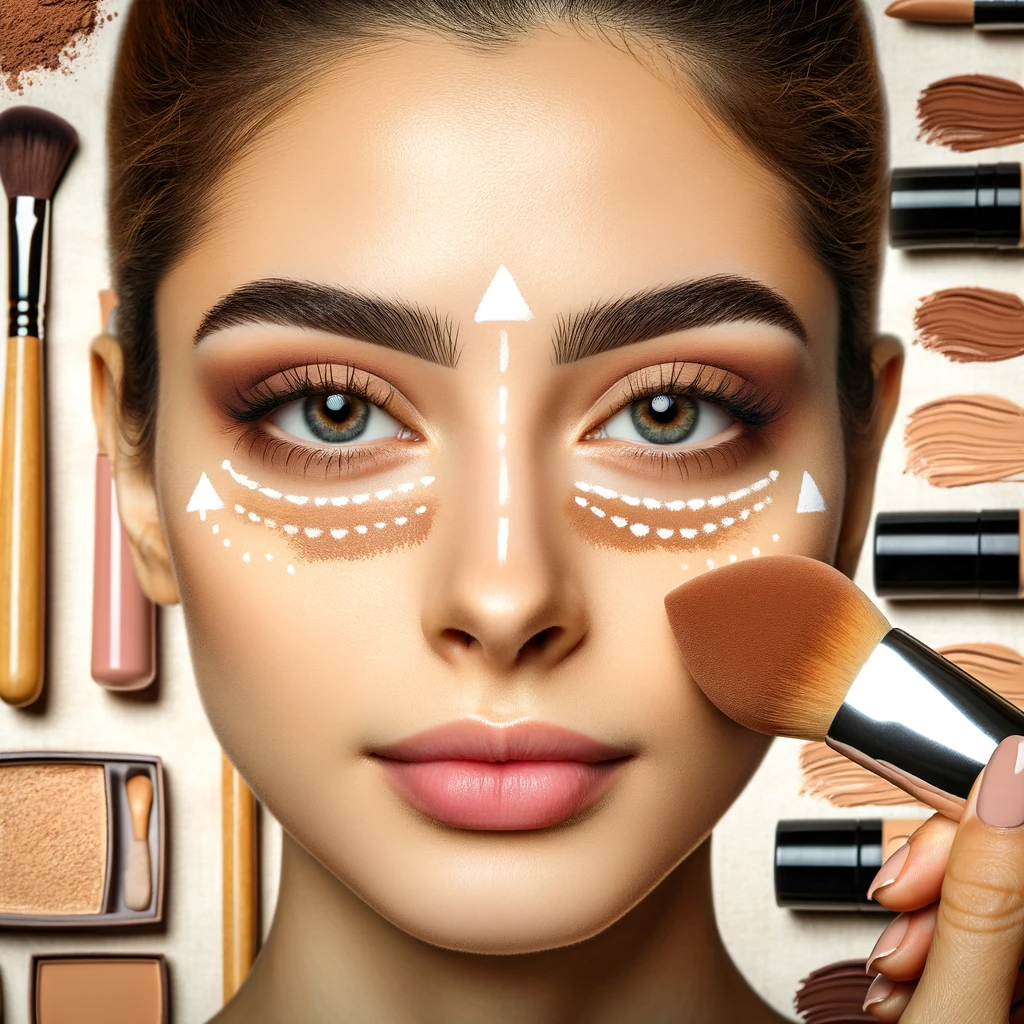
As I sweep my concealer brush beneath each eye, I craft an inverted triangle, the secret to a radiant and lifted appearance.
I ensure the lines of the triangle are seamless with my skin, blending meticulously for a result that defies the very notion of artifice.
This technique, when executed flawlessly, is the cornerstone of a visage that glows with both precision and natural grace.
Brighten Under Eyes
I’ve discovered that the triangle method effectively brightens the shadowy area under my eyes. Employing a creamy liquid concealer, I craft an inverted triangle, a canvas of light that lifts and illuminates my gaze. Here’s how I perfect this technique:
- I dot an eye brightener infused with Vitamin C along the inner corner, awakening my eyes with its reflective and restorative properties.
- I draw the base of the triangle just below my lash line, ensuring the point extends towards the cheek, capturing an ethereal glow.
- I let the concealer become slightly tacky, a pause that ensures superior adhesion and a seamless blend.
As I transition to the next step, my ring finger readies to blend for a natural look, marrying my artistry with my skin.
Blend for Natural Look
After letting the concealer set slightly, I use my ring finger to gently tap and blend the product within the triangle, ensuring a flawless integration with my skin tone. The choice of the ring finger is deliberate; it’s often the gentlest touch we can provide, allowing for a tender, meticulous blending that respects the delicate skin under the eyes.
Correct Application Technique
In pursuit of a flawless under-eye appearance, I draw an inverted triangle with my concealer to not only cover dark circles but also to create an illusion of brightness and lift. Here’s how I refine the correct application technique:
- Selecting the Shade: I always use a concealer that’s one to two shades lighter than my skin tone to ensure the under-eye area is subtly illuminated.
- Drawing the Triangle: Carefully, I trace the base along my lower lash line and point the tip towards the cheek, filling in the shape with gentle strokes.
- Initial Blend: With the pad of my ring finger, I tap the edges to blend, waiting for the concealer to become slightly tacky, which improves adherence.
Now, for a seamless integration, I’ll transition to blend with a beauty sponge.
Blend With a Beauty Sponge
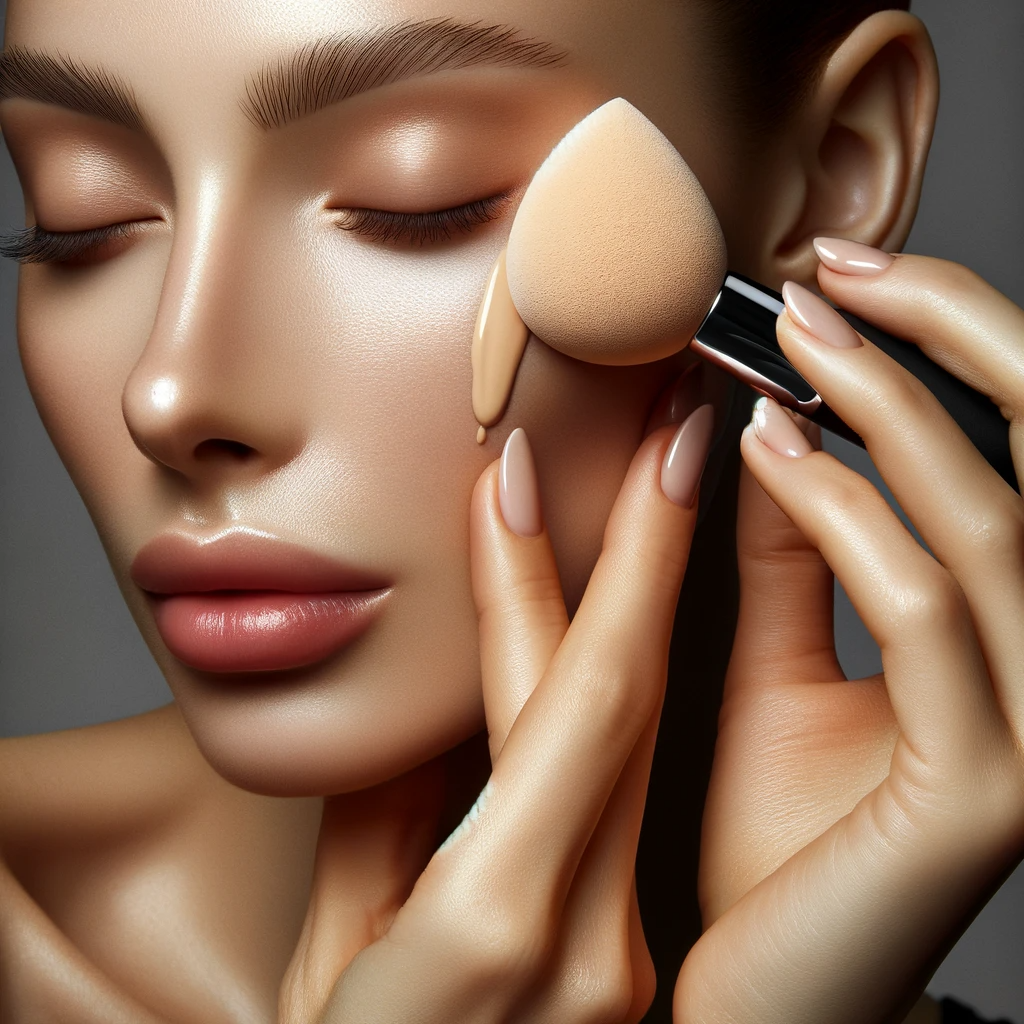
Before applying concealer for dark circles, I dampen my beauty sponge to ensure a flawless blend. This transformative tool, when used correctly, acts as a gentle artist’s brush, erasing the shadows beneath my eyes with tender taps.
The beauty sponge, I’ve found, is essential for achieving that seamless fusion between concealer and skin. It’s not just about covering up; it’s about creating an illusion of radiance and restfulness. My motions are deliberate—tap, press, blend—working the product into the skin to build coverage that looks natural, never overdone.
| Emotion | How the Beauty Sponge Helps |
|---|---|
| Confidence | Ensures even coverage, hides dark eye circles |
| Relief | Softly blends without tugging delicate skin |
| Satisfaction | Achieves a smooth, crease-free finish |
To serve others with this knowledge, it’s vital to emphasize that the wetness of the sponge is paramount. It should be damp, not dripping, allowing the concealer to melt into the skin, ensuring that dark eye circles are camouflaged with grace and ease. The beauty sponge is not just a tool; it is a conduit for transformation, turning tired eyes into a canvas of light and vitality. With each pat, I blend not just concealer, but also confidence and care into my visage.
Layer Strategically
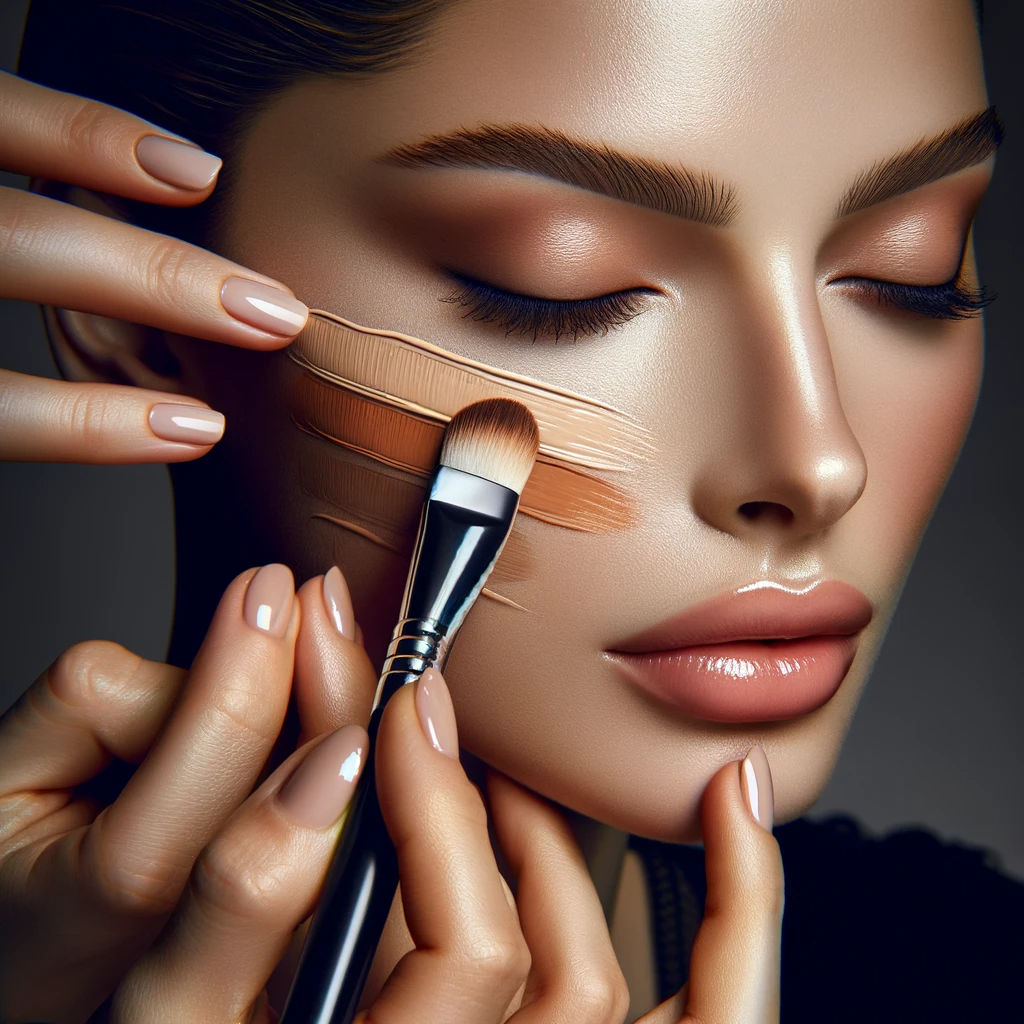
With strategic layering, I’ve discovered that less is often more when it comes to masking dark circles with concealer. The delicate art of concealing isn’t just about hiding; it’s about illuminating and rejuvenating the canvas beneath our eyes.
Here’s my tailored approach, a symphony of light and color, to achieve that flawless, yet undetectable coverage:
- Preparation is Key: Before I even reach for the concealer, I ensure the skin is well-hydrated with an eye cream, creating a smooth base. I then apply a corrector with complementary colors to neutralize the discoloration of dark eye circles.
- The Art of Application: I choose a concealer that promises a seamless blend into my skin’s unique texture and tone. For under-eyes, a light-reflective formula is my go-to, while a creamy stick concealer covers areas requiring more pigment. I apply in thin, strategic layers, blending each with the warmth of my fingertips or a damp beauty sponge for a natural, crease-free finish.
- Set for Perfection: To ensure longevity and to prevent any unwanted shine, I gently dust setting powder over the concealed areas. On occasions that demand extended wear, a fine mist fixing spray is my last step, locking in my meticulous work.
Through these steps, I serve not just the appearance of my clients, but also their confidence, delivering a visage untouched by the shadows of fatigue.
Set With Loose Powder
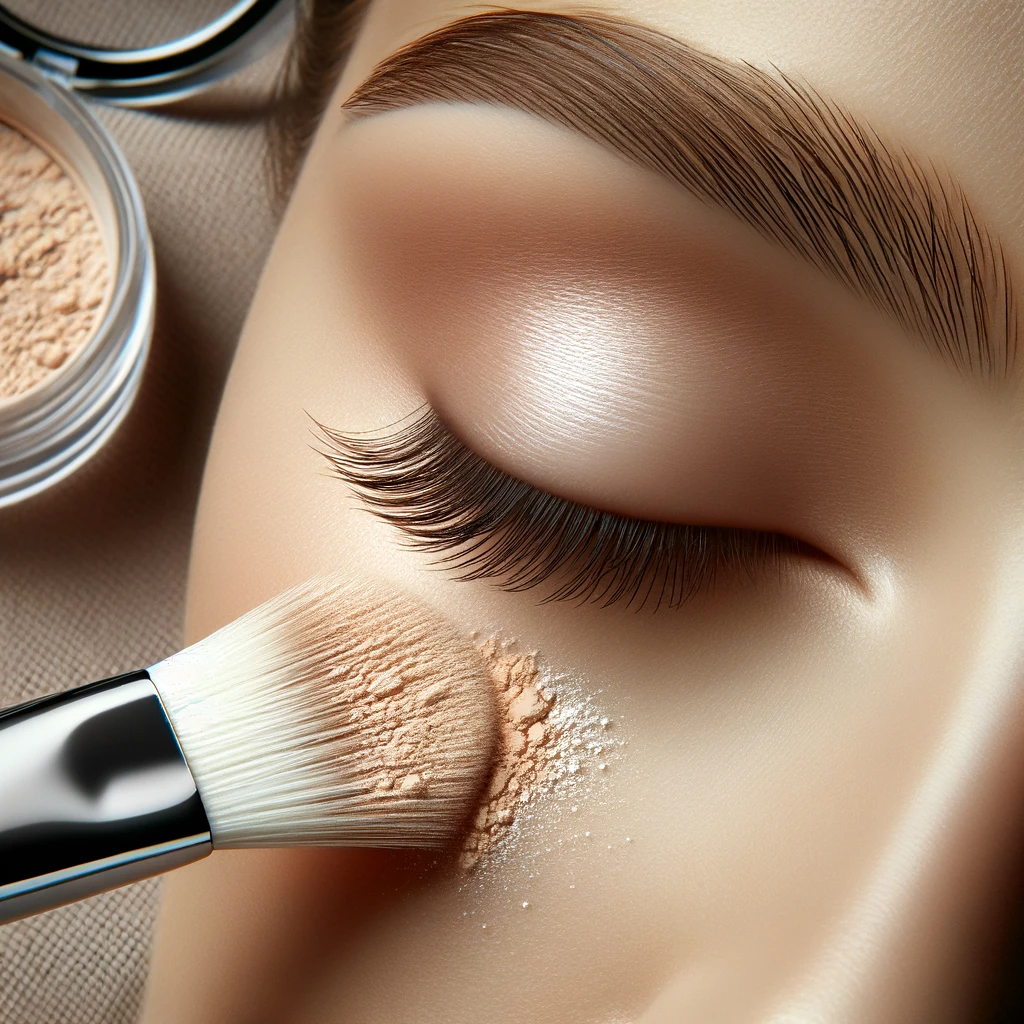
After meticulously blending your concealer, I find that setting it with a high-quality translucent powder, like the Laura Mercier Translucent Loose Setting Powder, is the magic touch for an impeccable finish.
I use a soft brush or a velvety sponge to gently press the powder onto the skin, ensuring the concealer doesn’t shift or streak.
This essential step locks in coverage and banishes creasing, guaranteeing your under-eye makeup remains fresh and flawless all day.
Prevent Creasing
I’ve found that a dusting of translucent setting powder is a game-changer for locking in concealer and preventing those pesky under-eye creases. When it comes to maintaining a flawless, service-oriented appearance, here’s what I recommend:
- Choose a high-quality setting powder that’s finely milled to avoid highlighting fine lines.
- Gently press the powder onto the under-eye area with a brush or sponge; a stamping motion melds it seamlessly with the skin.
- For those with dry skin, mix a tiny drop of jojoba oil with your concealer before applying the setting powder to prevent creasing and achieve a more nourishing finish.
Mastering this technique ensures that your dedication to serving others is never betrayed by your makeup betraying you.
Long-lasting Coverage
To ensure your concealer stays put all day, I set it with a high-quality translucent loose powder. This crucial step is the guardian of full coverage, transforming the delicate under-eye into a flawless canvas.
With the Laura Mercier Translucent Loose Setting Powder in hand, I artfully dust a veil over the concealed area, using a brush with a gentle touch. Each particle of this finely milled powder acts like a soft-focus lens, blurring imperfections and sealing the concealer beneath.
For those dedicated to service, this technique is non-negotiable. It ensures a polished look that withstands the rigors of daily commitments.
And to truly anchor this artistry, a fine mist of setting spray is my final benediction. This ‘Powder to Set’ ritual is the secret to enduring beauty, a tribute to one’s dedication to others.
Brighten With Highlighter
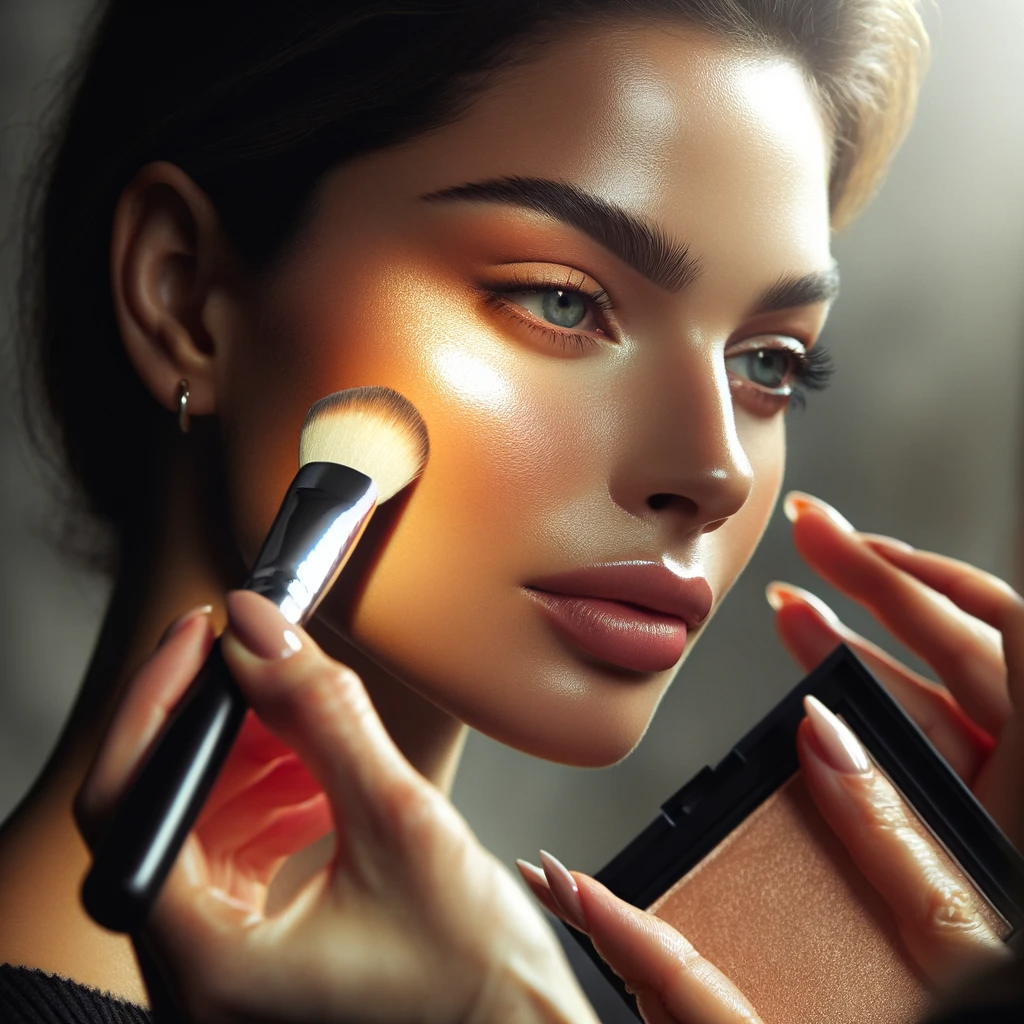
I often brighten my under-eye area by applying a dab of highlighter to the inner corners of my eyes, which creates a subtle, luminous effect that diminishes the look of dark circles. As someone who understands the transformative power of makeup, I’ve learned that the strategic use of light-reflecting pigments can be a game-changer for those of us battling dark eye circles.
Here are the steps I take to ensure an ethereal glow:
- Illuminate Inner Corners: After my concealer is set with a fine, translucent powder, I place a touch of a liquid or cream highlighter to the inner corners of my eyes. This technique draws light, making the eyes appear brighter and more awake.
- Sculpt with Light: Borrowing from the toolkit of a celebrity makeup artist, I draw a ‘C’ shape from the inner corner up to the brow bone and down to the top of the cheekbone. This not only brightens but also subtly lifts the entire area.
- Final Accents: For a comprehensive radiance, I add a hint of highlighter on the brow bone and the center of the eyelids. This harmonious application brings balance and light to the eyes, further reducing the shadowy effect of dark circles.
Conceal With Natural Light
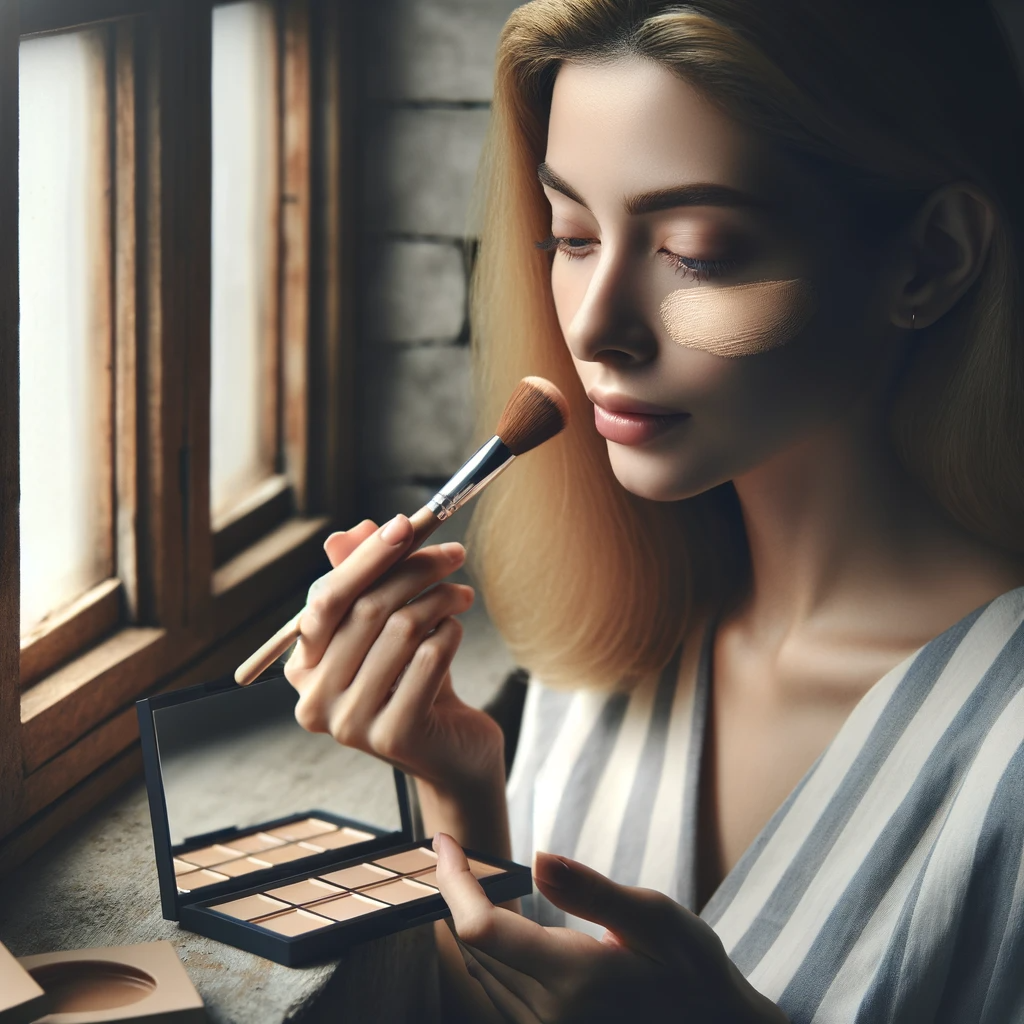
As I brush a stroke of creamy concealer beneath my eyes, I’m acutely aware of how the soft daylight streaming through my window influences the shade I’ve chosen.
It’s a makeup artist’s secret that natural light is the truest litmus for color matching, ensuring the hues seamlessly blend with my skin’s undertones.
With the right light as my guide, I’m poised to masterfully disguise those stubborn dark circles, transforming my gaze into one of awakened radiance.
Lighting Affects Shade
Often, I’ve found that concealing dark circles under natural light ensures the most accurate shade match for a flawless finish. The transformative power of natural illumination can’t be overstated when striving to serve others with the most refined aesthetic touch. Here’s why:
- True Color Revelation: Natural light unveils the genuine depth and hue of dark eye circles, guiding my hand to the perfect concealer tone.
- Seamless Integration: By allowing the skin’s true colors to shine forth, I can blend the concealer seamlessly, ensuring no telltale signs mar the canvas of the face.
- Honest Assessment: Lighting affects shade, and only in the clarity of daylight can I truly judge whether the concealer is a faithful ally against the shadows beneath the eyes.
With each stroke, the art of concealment becomes an act of care, transforming not just appearances, but uplifting the spirit of those I serve.
Daylight for Matching
While many overlook the importance of lighting, I’ve discovered that concealing under natural daylight is key to perfectly matching dark circle coverage. The sublime dance of daylight on skin reveals the true hues and undertones, allowing me to select a concealer that becomes virtually indistinguishable from my natural complexion.
I’ve found that daylight for matching is non-negotiable; it’s the maestro, ensuring my work is undetectable artistry rather than a glaring mismatch.
In the luminance of day, dark eye circles betray their secrets, and I deftly tailor my concealer to those whispering tones. It’s a craft, honed by the fidelity of natural light, where every stroke and blend serves the higher purpose of an impeccable, seamless finish.
10 Expert Concealer Tricks for Dark Circles FAQ’s
How Do You Apply Concealer for Severe Dark Circles?
I start by dabbing on a magical elixir—my trusty concealer—blending a creamy formula to camouflage those pesky shadows, ensuring my service to others isn’t marred by signs of any late nights.
Why Can’t I Cover My Dark Circles With Concealer?
I’m struggling to cover my dark circles because I haven’t found the right shade and technique. Proper hydration and a color corrector are crucial before applying concealer to achieve a seamless, natural look.
What Concealer to Use for Too Much Dark Circles?
I’d recommend a full-coverage, creaseless concealer that complements your skin tone. Look for products with yellow, peach, or rose undertones to counteract the dark circles and achieve a natural, refreshed look.
What Color Concealer Is Best for Dark Circles?
As they say, “The eyes are the window to the soul,” and a peach or orange-toned concealer is best to brighten dark circles, ensuring your inner light shines without shadow.
Helpful Links
10 Expert Concealer Tricks for Dark Circles

