Beginner's Guide: 10 Steps to Apply Concealer Flawlessly
Imagine you’re prepping someone’s face for a big event, and you want to ensure their skin looks immaculate. Concealer is your go-to for covering blemishes and dark circles, but it’s crucial to apply it correctly.
This beginner’s guide will walk you through 10 essential steps to apply concealer with a flawless finish. You’ll learn how to choose the right shade, prepare the skin, and use the correct tools.
By mastering these techniques, you’ll not only enhance your own makeup routine but also provide exceptional service to others, ensuring they look and feel their best.
Whether it’s for everyday wear or special occasions, you’ll be equipped with the know-how to handle concealer like a pro.
Key Takeaways
- Understand the different types of concealers and select the right shade for your needs and skin tone.
- Properly prepare your skin by allowing skincare products to absorb and applying primer before concealer.
- Use the correct tools, such as brushes or sponges, for different finishes and regularly clean them to prevent product build-up and bacteria transfer.
- Master color correction techniques and the patting motion for seamless blending, ensuring the concealer remains undetectable and natural-looking.
Understanding Concealer Types
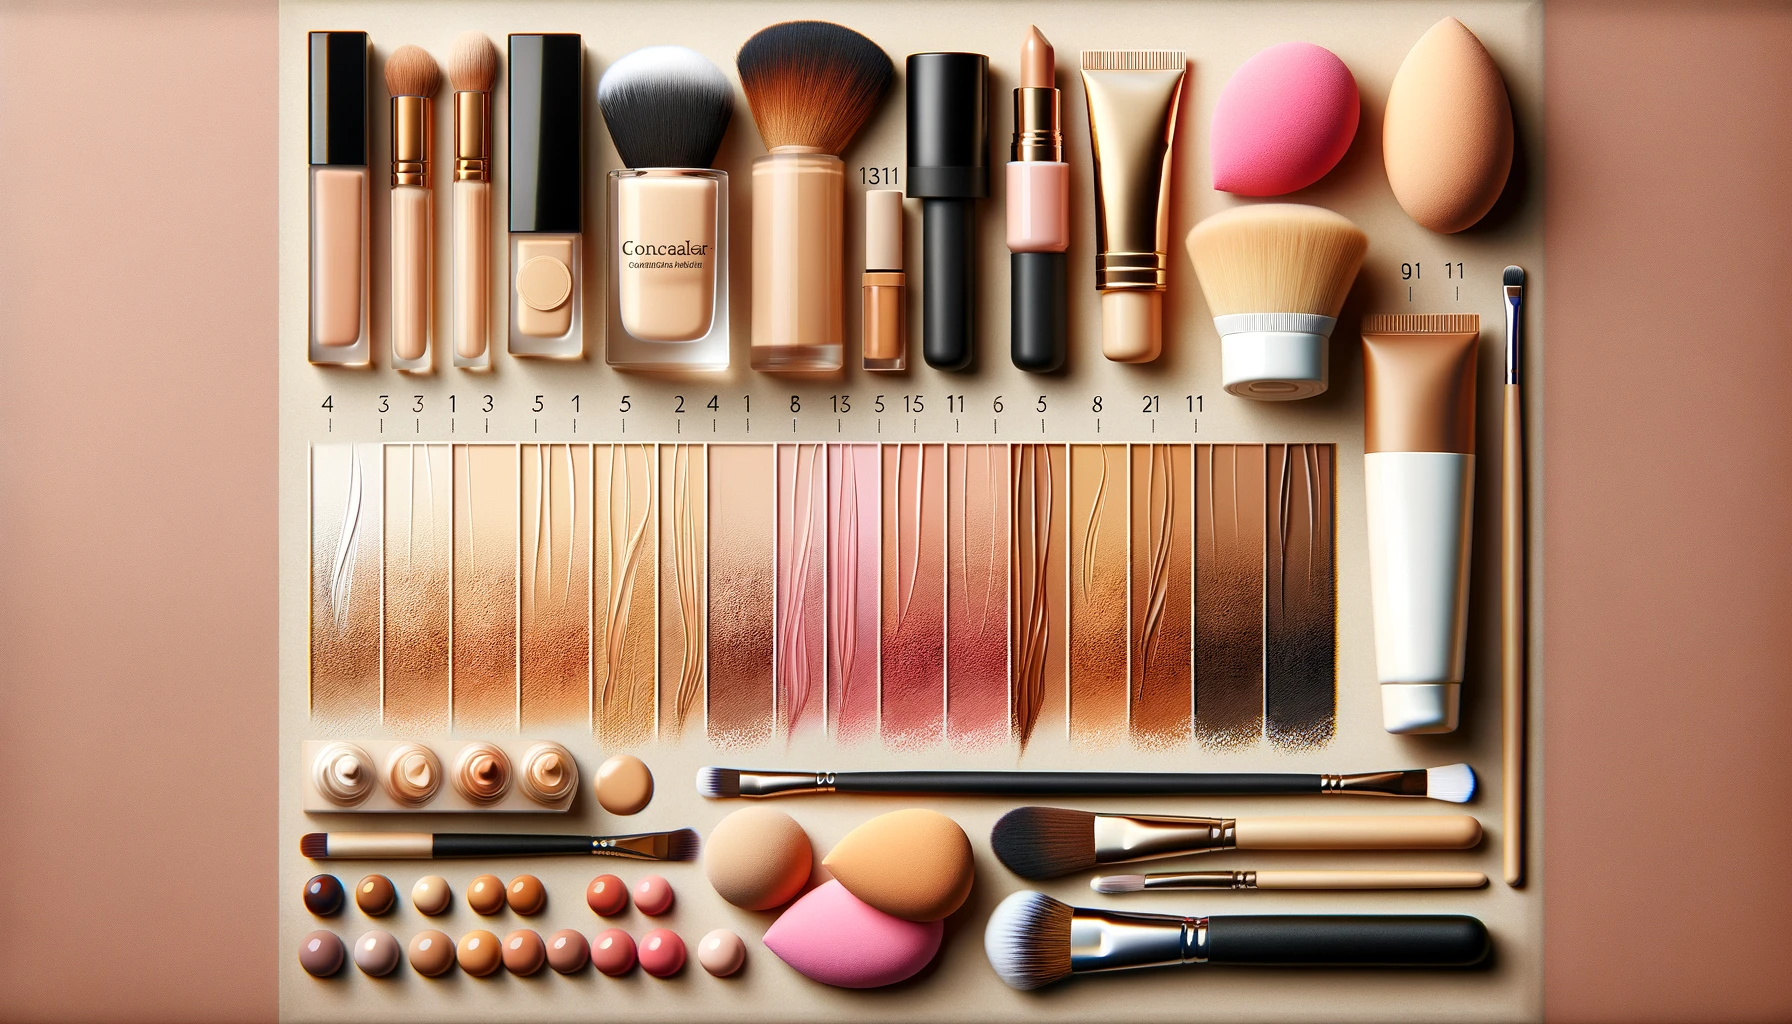
Before diving into the application process, you’ll need to grasp the basics of the different types of concealer, each formulated for specific skin issues. A color corrector works wonders for neutralizing severe discoloration, such as pronounced dark circles or red blemishes. It’s crucial to match the corrector to the issue: peach tones for blueish shadows, green for redness.
As for concealer types, they range from light, illuminating formulas ideal for highlighting, to denser options like L’oreal Infallible Full Wear Concealer that provide full coverage. Always consider your skin tone when selecting shades to ensure a natural blend.
Implementing these insights won’t only refine your technique but also empower you to cater to diverse needs with precision and care.
Selecting the Right Shade
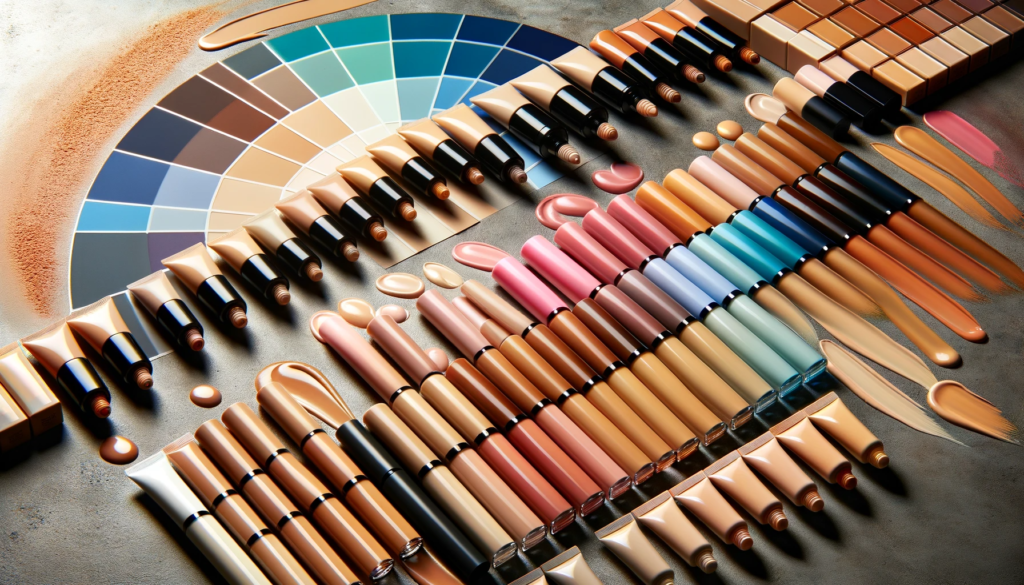
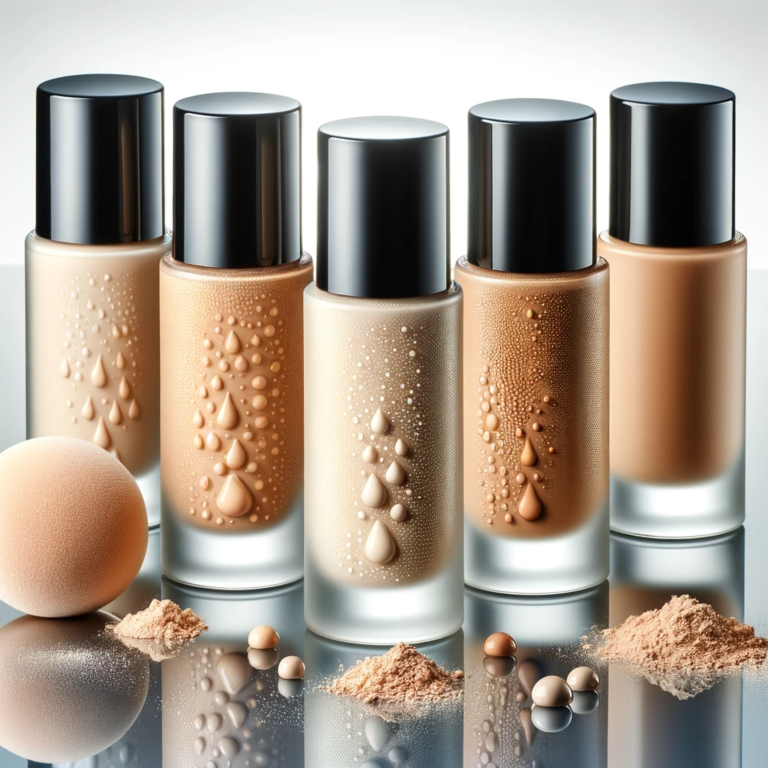
To achieve a natural-looking complexion, you’ll need to zero in on the concealer shade that perfectly matches your skin tone. The correct color of concealer is paramount; it should blend seamlessly, avoiding any ashy or unnatural appearance. Remember, concealer should be either the exact match of your skin tone or, at maximum, half a shade lighter, particularly when addressing under-eye circles. This ensures coverage without drawing unwanted attention to the area.
For dark circles, start with a color corrector to neutralize discoloration. Then, apply a concealer that complements your corrected skin tone for a flawless finish. If you’re aiming to highlight, select a concealer a tad lighter than your skin.
Always sample different hues to find your ideal match, keeping up with the latest techniques to best serve your or your clients’ complexions.
Preparing Your Skin

While you’re waiting for your skincare products to settle, ensure that your skin is primed to create the perfect canvas for concealer application. Proper preparation takes skin from good to great and is a critical step that shouldn’t be overlooked.
Start by allowing your chosen skin care products to fully absorb. This step is crucial—it’s what prevents creasing and paves the way for a smoother base.
Next, apply a primer to refine the surface of your skin, which helps to minimize the appearance of creases and pores.
If discoloration is a concern, a thin layer of color corrector before concealer can work wonders.
Applying Primer

After your skin has fully absorbed the skincare products, you’ll want to apply a primer like the L’Oréal Infallible Full Wear Concealer to create an even and crease-resistant base for your concealer. This step is crucial for a flawless concealer application and ensures that your concealer glides on smoothly without settling into fine lines.
Here’s how to master this essential step:
- Dot the Primer: Gently dot the primer across your under-eye area and any other zones where you plan to apply my concealer.
- Blend Gently: With a light hand, blend the primer using a patting motion. This helps to fill in pores and fine lines, creating a seamless canvas.
- Let It Set: Wait for a minute until the primer is absorbed, setting the perfect stage for the application of the concealer.
Using Correct Tools
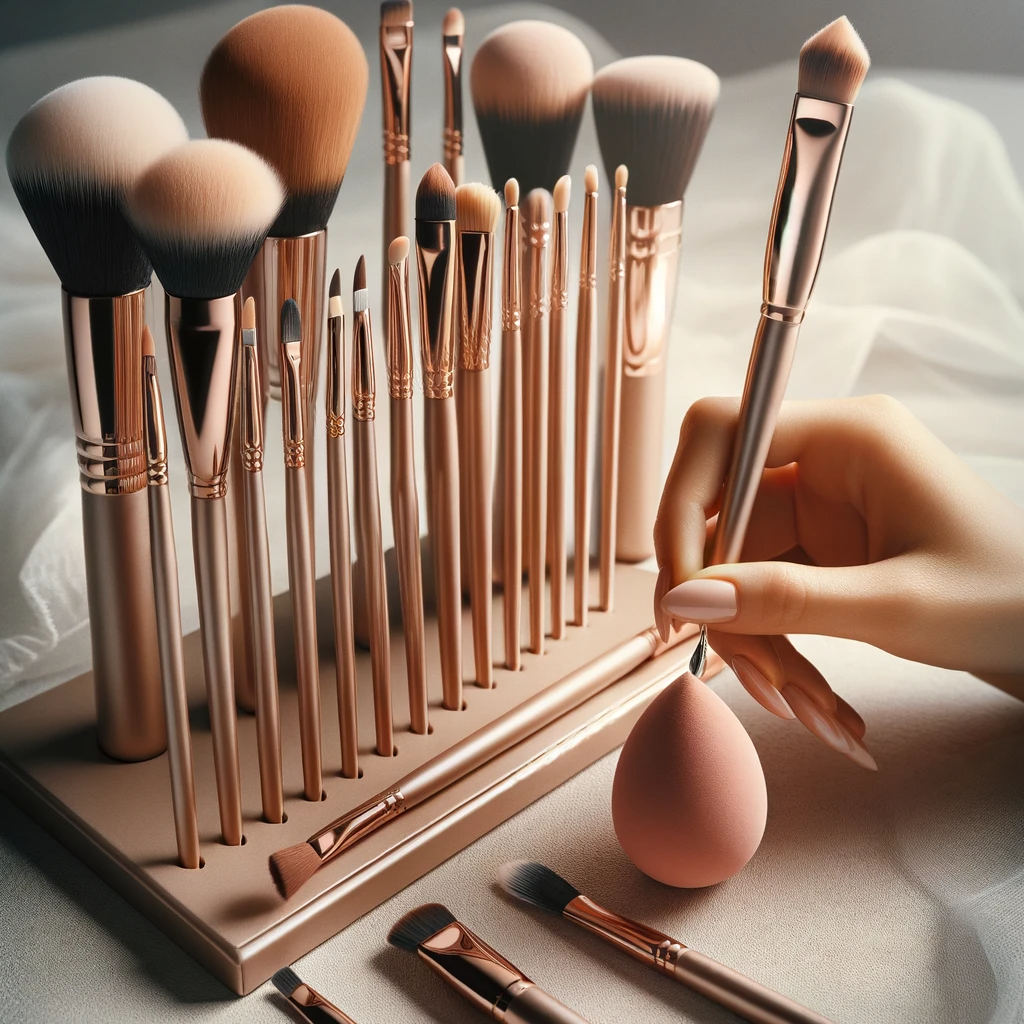
Choosing between a brush or sponge can drastically affect your concealer’s finish. A brush offers precision and full coverage while a sponge provides a more sheer, natural look.
Don’t underestimate the importance of tool quality. Investing in high-caliber tools ensures optimal application and longevity of your makeup.
Brush Vs. Sponge
You’ll notice a significant difference in coverage when you opt for a brush over a sponge to apply your concealer. Brushes allow for a more precise concealer application, laying down product exactly where you need it. Sponges, while great for a natural finish, may sheer out the concealer too much when you’re aiming for full coverage.
Here’s what to know about each tool:
- Brushes: They offer pinpoint accuracy and tend to waste less product, making them ideal for targeted areas and blemish concealing.
- Sponges: These tools are perfect for a dewy, blended finish, but might absorb more product.
- Techniques: Experiment with different strokes and pressures to see which techniques you’re going to master for your desired effect.
Tool Quality Importance
Every quality concealer application begins with the right tools; ensuring you’ve got the best brushes or sponges at hand will make all the difference in achieving a flawless finish.
When you’re learning how to apply my concealer, remember that the precision of your application hinges on the quality of your tools. A high-grade, tapered brush allows for meticulous blending, especially crucial in the delicate under-eye area or when covering blemishes.
As you’re choosing the correct color, it’s equally vital to opt for the appropriate tool to apply it. For fuller coverage, a densely packed brush can stipple concealer without streaking, while a beauty blender might be preferred for a lighter, more natural blend.
Investing in the right tools is non-negotiable for a polished, professional look.
Cleaning Application Tools
Maintaining your concealer brushes and sponges is as crucial as the application itself; ensure they’re regularly cleaned to prevent product build-up and bacteria transfer. When you apply your concealer, the last thing you want is for old makeup or germs to compromise your skin health or the finish of your concealer application.
Here are three key steps to keep your tools pristine:
- Weekly Washing: Use a gentle brush cleanser or baby shampoo to wash your brushes and sponges, ensuring all concealer residue is removed.
- Daily Sanitization: For daily use, consider a quick-drying brush spray to keep tools sanitized between thorough washes.
- Proper Storage: Ensure your tools dry completely in an open space before storing to prevent mold or mildew.
Technique for Dark Circles
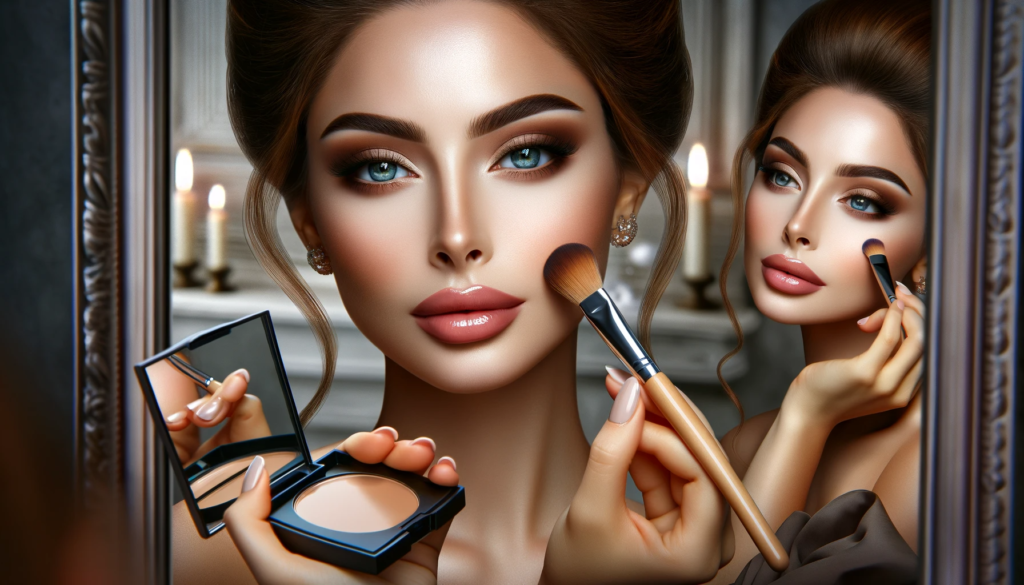
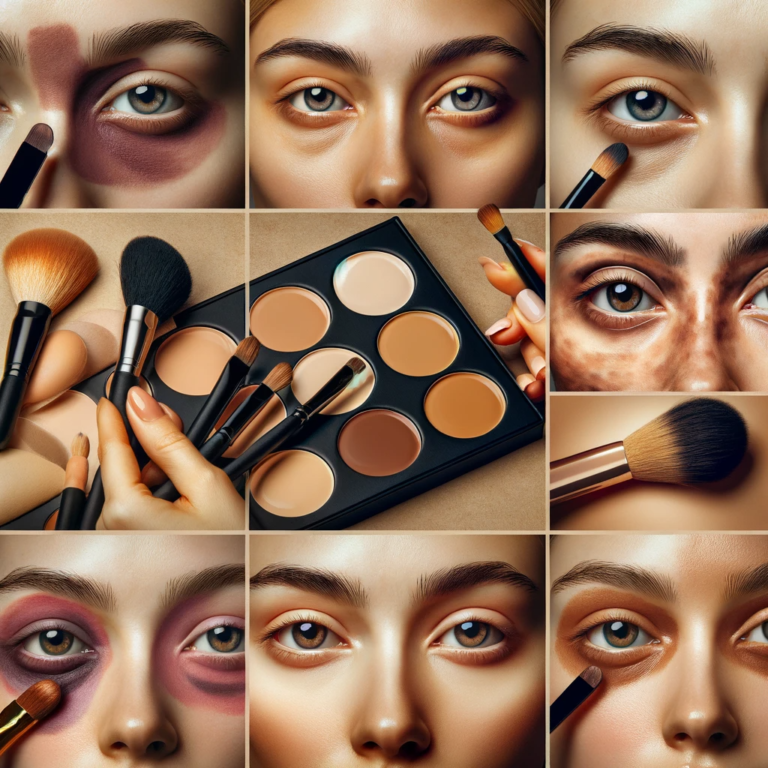
Concealing dark circles requires a strategic approach. Start with a color corrector to neutralize any darkness before layering on your concealer. Remember to gently pat the product in, rather than rubbing, to ensure full coverage without disturbing the delicate skin.
Blend meticulously below the crease lines for a seamless finish. Stop when you’ve achieved a match with your natural skin tone.
Color Correction First
To tackle stubborn dark circles, start by applying a thin layer of color corrector before your concealer. This foundational step ensures your dark circles are neutralized, allowing the concealer to work its magic without having to combat discoloration.
Here’s how you can master this technique:
- Select the correct shade: For dark circles, an orange one typically counters blue or gray undertones.
- Apply sparingly: Use color correctors with a light hand to avoid product build-up.
- Blend seamlessly: Ensure the corrector I know you’ve chosen is blended well into the skin to prevent it from showing through the concealer.
Remember to be gentle on the delicate under-eye area and focus on blending the edges for a natural transition. This approach will serve your overall look by creating a flawless and lifted appearance.
Pat, Don’t Rub
After neutralizing your dark circles with a color corrector, it’s crucial you pat the concealer on rather than rubbing it in, to achieve a flawless finish. This technique is paramount in concealer application, especially when you’re striving for a seamless look that serves your features best. When you gently press the product into the skin, rather than dragging it across, you minimize the risk of irritation and prevent the concealer from settling into fine lines.
As you apply your concealer, remember that the skin around your eyes is delicate. By using a light patting motion, you can build coverage where needed without the product appearing heavy. This method ensures that the concealer I’m going to trust to hide my fatigue remains undetectable and natural-looking.
Concealing Blemishes
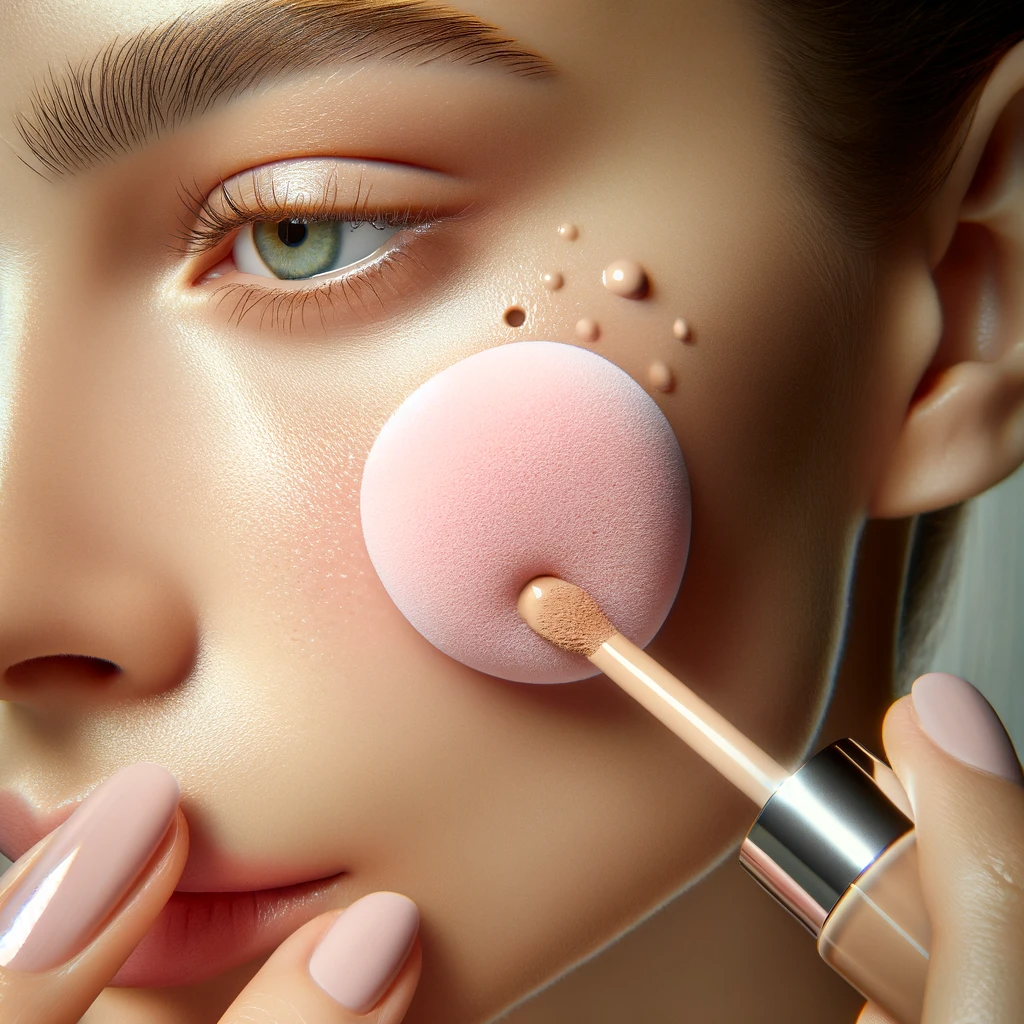
Addressing blemishes effectively requires choosing a concealer that closely matches your skin tone to ensure seamless coverage. When you’re looking to conceal your dark spots and blemishes, it’s essential to apply your expertise with care and precision. Here’s what you need to know:
- Color Selection: Pick a concealer one shade lighter than your foundation to brighten the area without drawing undue attention to your blemishes.
- Application Technique: Use a small concealer brush for pinpoint accuracy, gently dabbing the product onto the blemish.
- Setting the Concealer: After applying, set the concealer with a light dusting of translucent powder to prevent it from slipping throughout the day.
Setting With Powder
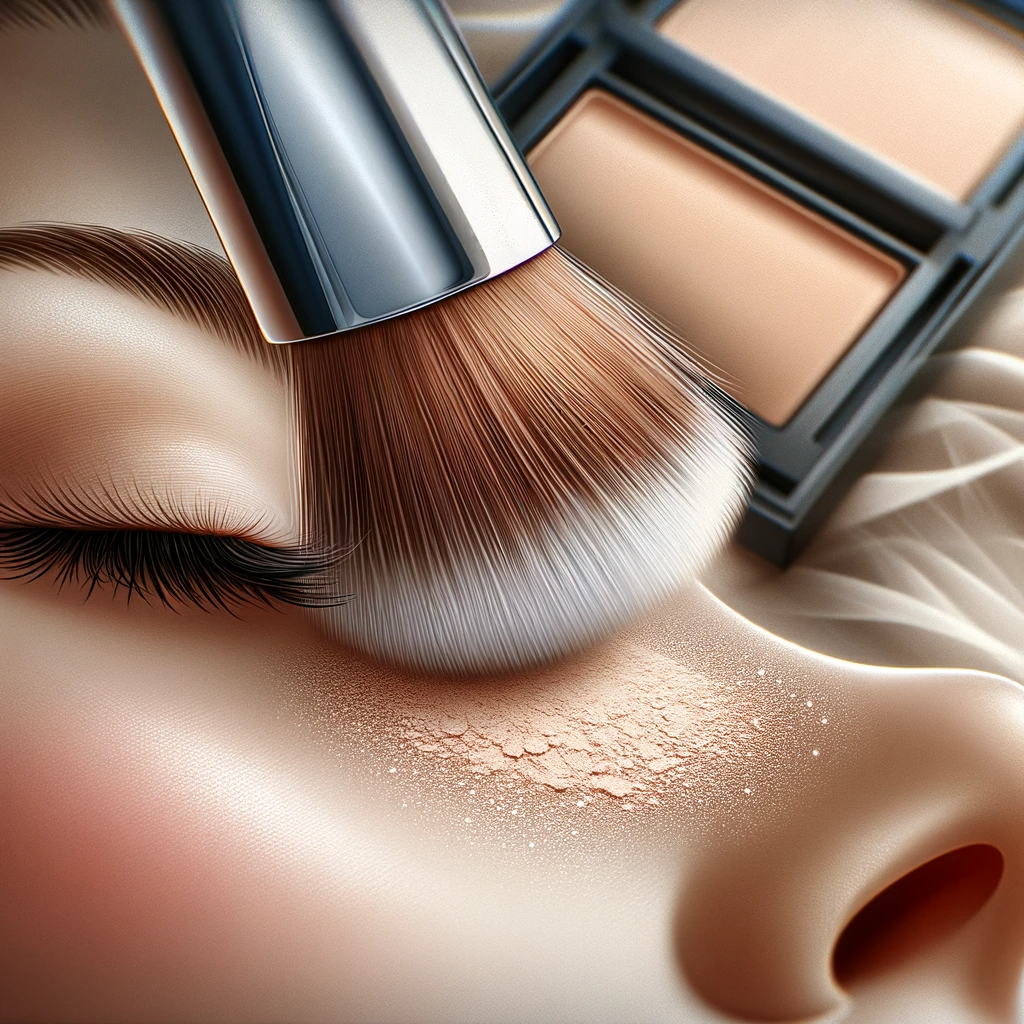
Once you’ve applied your concealer, the next step is to set it with a layer of translucent powder to ensure it stays put all day. This crucial part of concealer application not only extends the wear time but also creates a seamless canvas for the rest of your makeup.
To master this technique and maintain a flawless look, follow this detailed guide:
| Step | Tool | Action |
|---|---|---|
| 1 | Fluffy Brush | Gently press powder |
| 2 | Translucent Powder | Apply a light layer |
| 3 | Patting Motion | Set without shifting concealer |
| 4 | Light Touch | Avoid heavy application |
| 5 | Final Check | Ensure no creases |
When you’re setting with powder after you apply your concealer, remember less is more. A delicate touch ensures you serve your skin with the care it deserves, sustaining a polished, crease-free appearance.
Blending for Natural Look
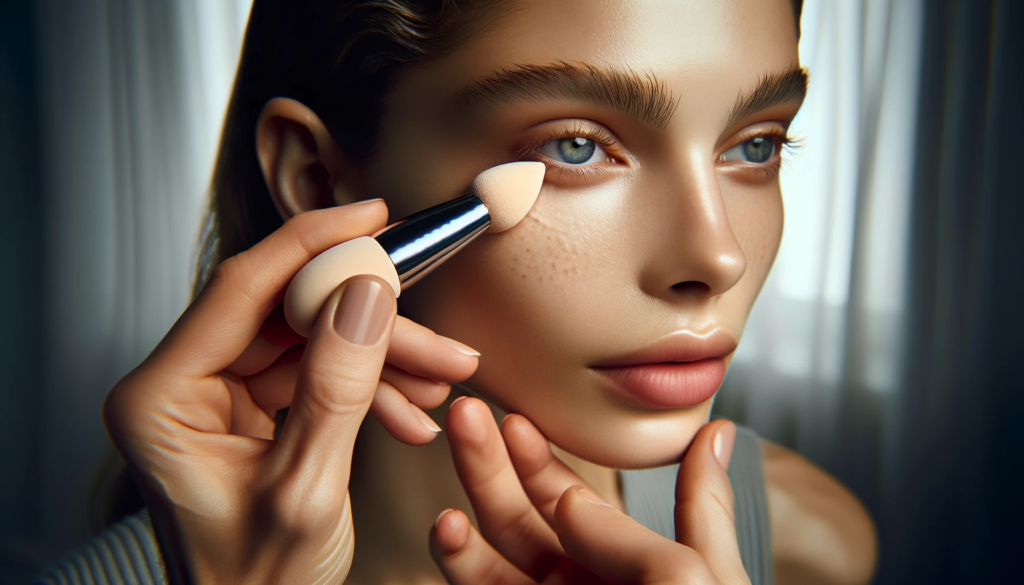
To achieve a seamless finish, you’ll need to master the art of blending your concealer effortlessly into your skin. The goal is to ensure that when you apply your concealer, it’s indistinguishable from your natural complexion. Here’s how you can do it:
- Use the Right Tool: Opt for a brush to get fuller coverage while blending for a natural look. This will also help conceal using color correctors more efficiently.
- Employ Lifting Techniques: When applying concealer to specific areas, blend below crease lines and employ a lifting motion to avoid drawing attention to fine lines.
- Know When to Stop: Halt your blending once the concealer application matches your skin tone and any color correcting is fully covered.
Troubleshooting Common Issues
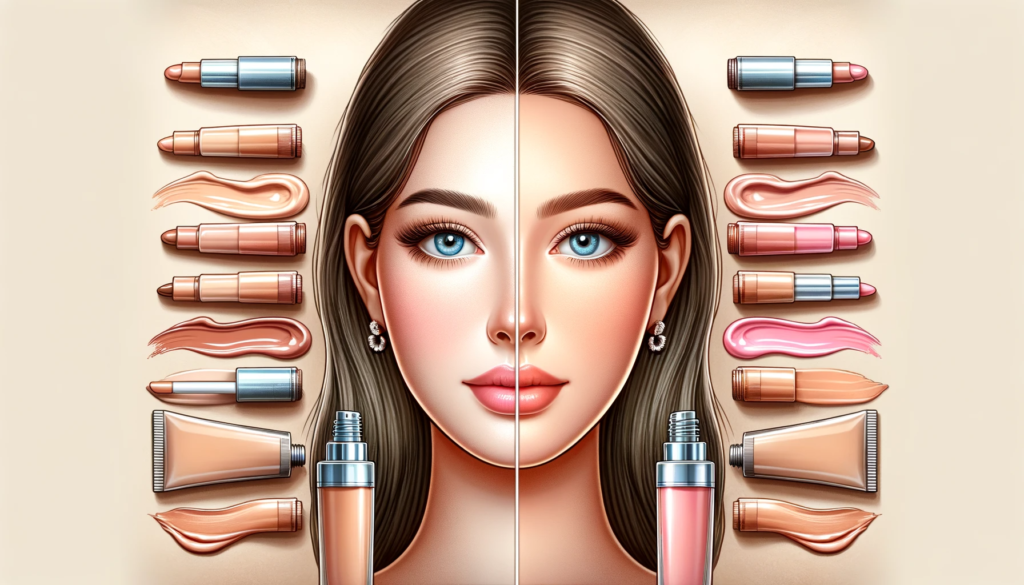
Even with the perfect shade, you might find your concealer looking cakey or settling into fine lines; let’s tackle these issues head-on.
To prevent that dreaded creasing, ensure you’re setting your concealer with a technique that keeps up with the latest beauty trends.
We’ll walk you through the expert tips to maintain a smooth, fresh look all day long, avoiding common pitfalls that can detract from your flawless finish.
Fixing Cakey Appearance
If you’ve noticed a cakey texture after applying your concealer, there are several steps you can take to smooth things out. Achieving a flawless finish requires attention to detail and understanding the dynamics of applying makeup correctly. Here are a few expert tips:
- Hydrate and Prime: Ensure your skin is well-moisturized and allow your skincare products to fully absorb. Apply a lightweight primer to create a seamless canvas.
- Blend Gently: Use a soft brush or beauty sponge to blend your concealer, ensuring fuller coverage without over-layering. This helps prevent makeup from settling into those lines.
- Touch-Up Wisely: If you notice your concealer looking gray or makeup creasing, lightly dab a small amount of concealer only where needed and blend for a fresh, natural look.
Preventing Creasing Lines
One might think that crease lines are inevitable, but with the right techniques, you can significantly minimize their appearance.
Start by applying a primer to create a smooth base and prevent creasing lines.
Let your skincare sink in fully before beginning your concealer application; this ensures a clean canvas.
Apply concealer first to the under-eye area to maintain a thin layer of product, which is crucial in preventing crease lines.
For a flawless finish, blend the concealer with a brush, achieving fuller coverage and efficiently concealing any imperfections.
Frequently Asked Questions
How Do You Apply Concealer for Beginners?
To apply concealer, start by color matching to your skin tone. Choose the right type for coverage, and use the best application tools, like brushes or sponges, for a seamless, on-trend look.
How Do I Make My Concealer Look Flawless?
You’re aiming for that flawless concealer look, right? Start with skin preparation; let your skincare sink in. Choose shades carefully, blend expertly, and set with a pro’s touch for a lasting, impeccable finish.
How Do You Apply Concealer Smoothly?
To apply concealer smoothly, prep your skin thoroughly, choose the right concealer type, and use quality blending tools for seamless coverage that’ll leave you ready to help others with confidence and style.
How Do You Apply Concealer Like a Professional?
To apply concealer like a pro, you’ll need to master color matching, choose the right brush types, and perfect setting techniques to ensure a seamless, trend-aware look that serves your desired outcome.
Conclusion
In conclusion, mastering concealer application is within your reach. Did you know that 67% of makeup users feel more confident with a concealer on hand? By following these steps, you can join them in achieving that flawless finish.
Remember, practice makes perfect, and staying on top of trends ensures you’re using the best products and techniques. So, set your look with confidence, and don’t forget to blend, blend, blend for that seamless, skin-like finish.

